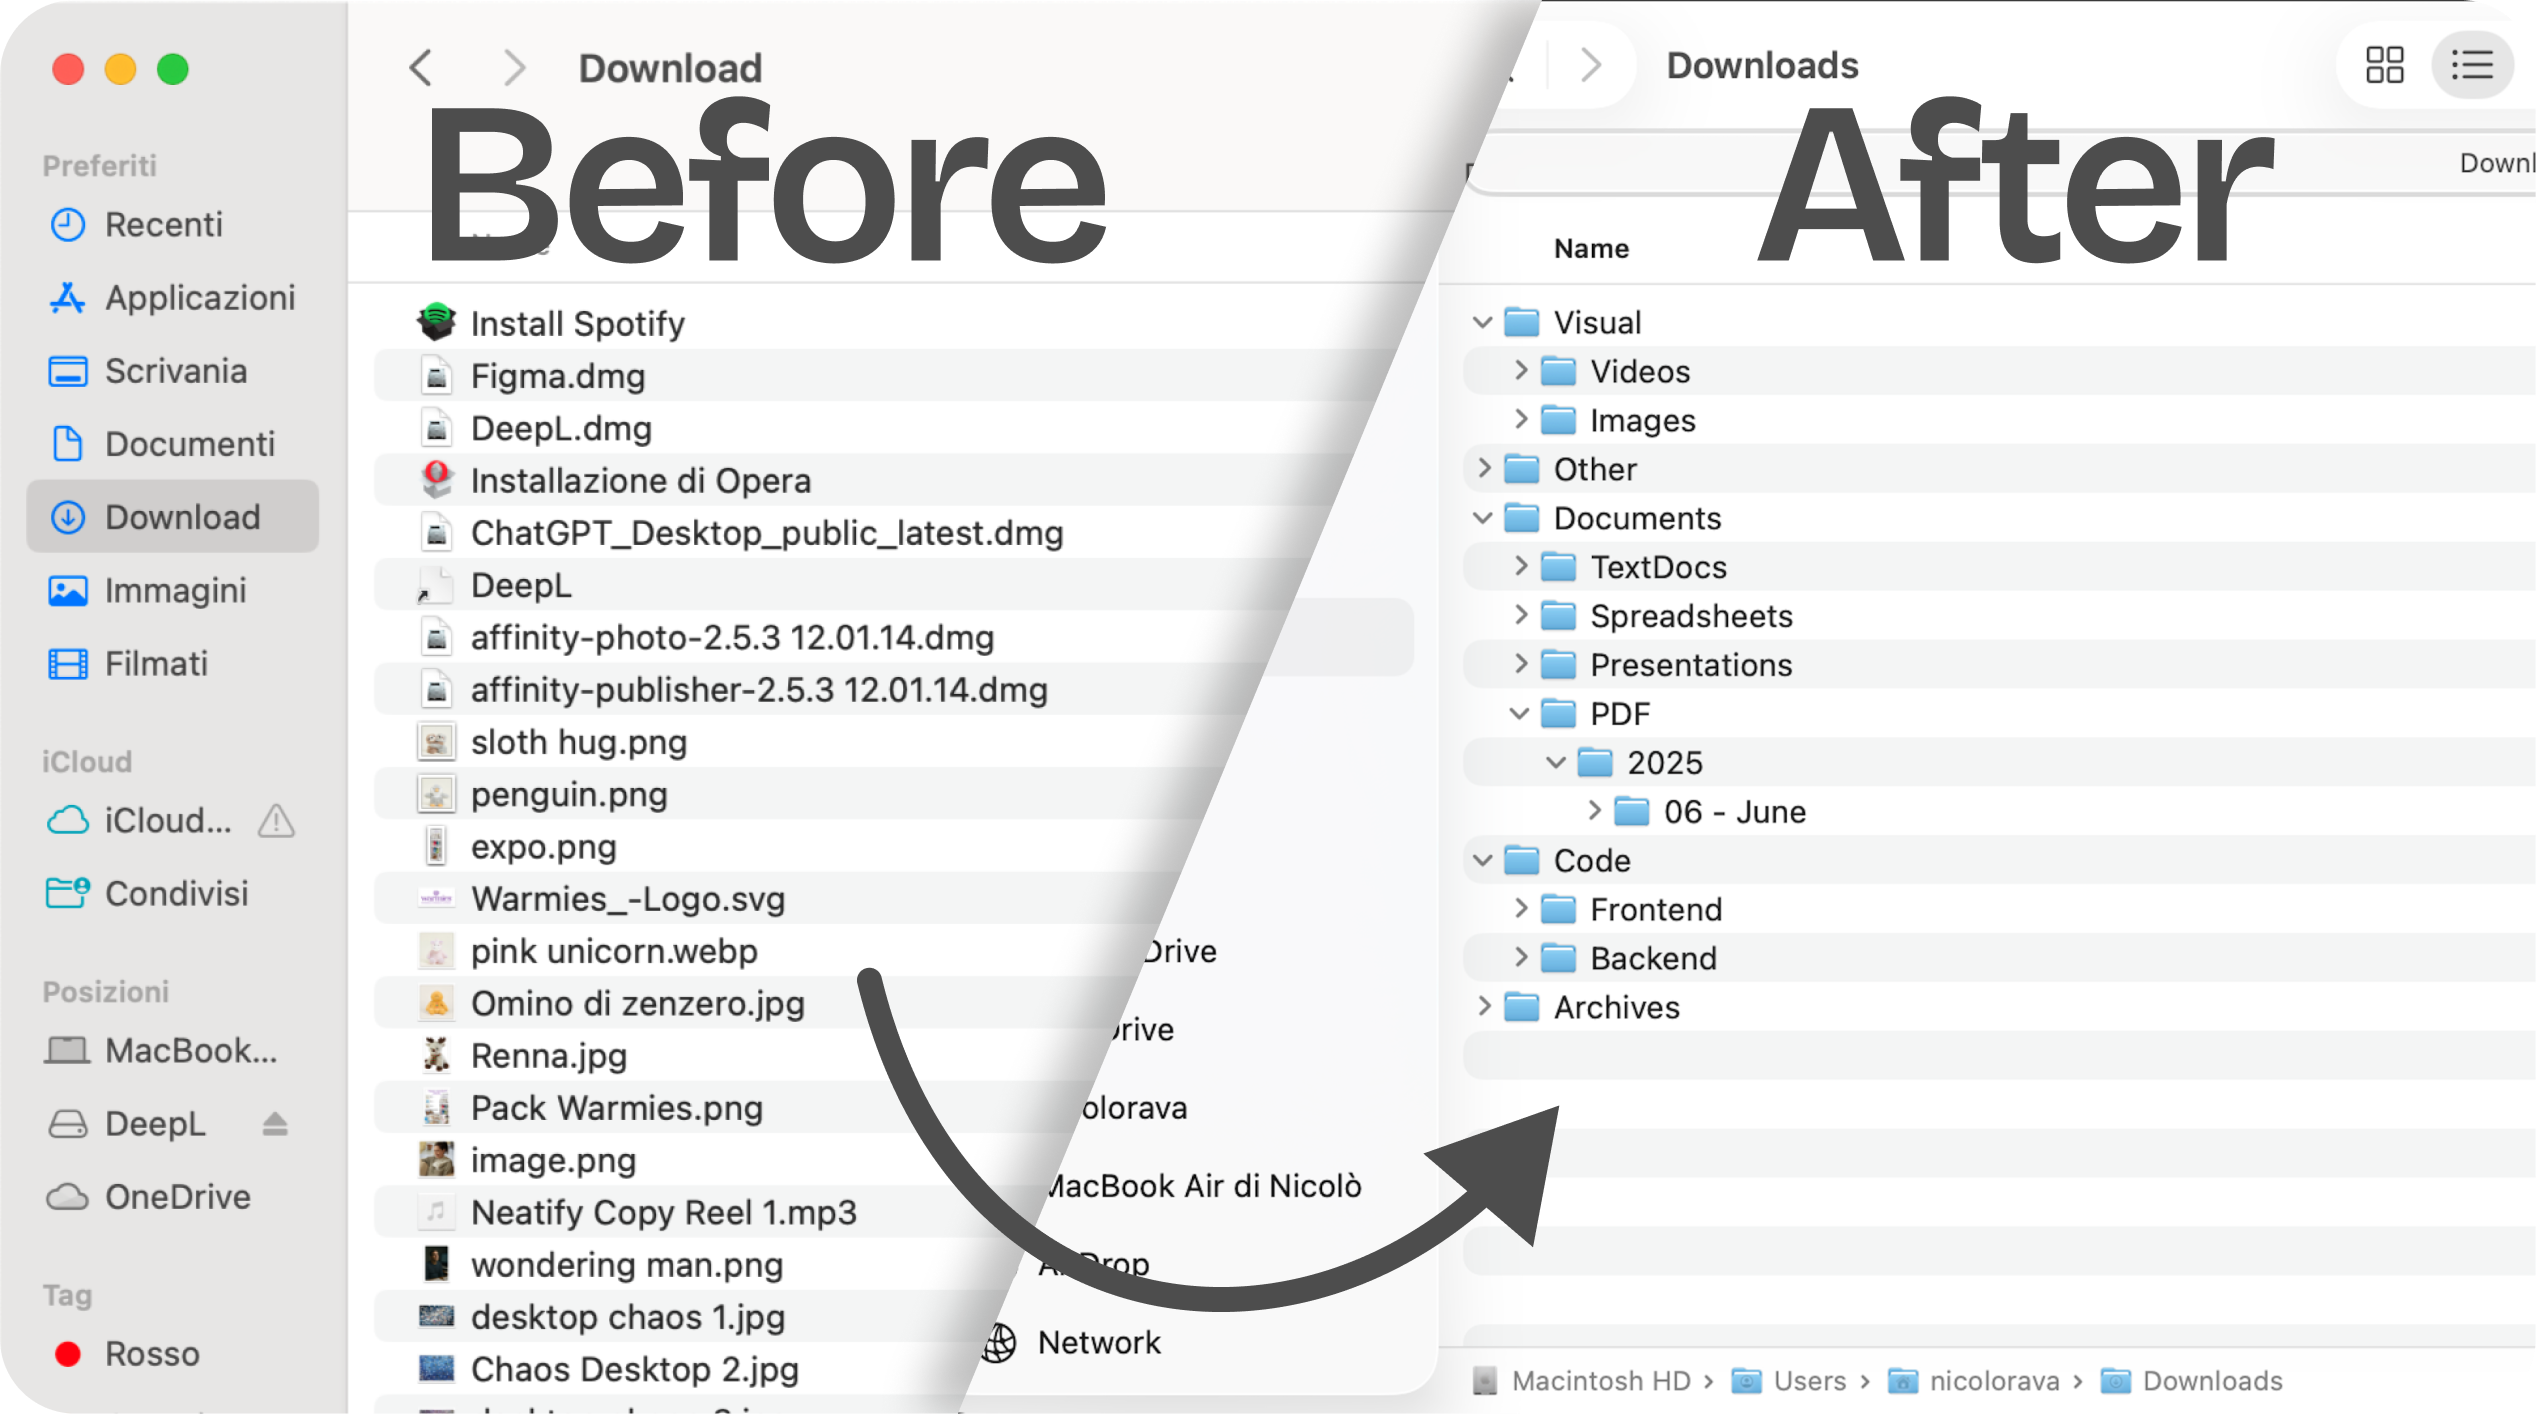
Your Mac Downloads folder probably has 200+ files right now. PDFs mixed with images, old installers you'll never use again, screenshots from three months ago, and that one document you desperately need but can't find. You know you should organize it, but where do you even start?
In this guide, you'll learn five practical methods to organize your Downloads folder, from simple manual approaches to fully automated solutions. Choose the one that fits your workflow, or combine several for maximum effectiveness.
Method 1: Manual Organization with Folder Structure
The most straightforward approach is creating a logical folder system and moving files manually. While this requires ongoing effort, it gives you complete control.
How to set it up:
1. Create your main categories
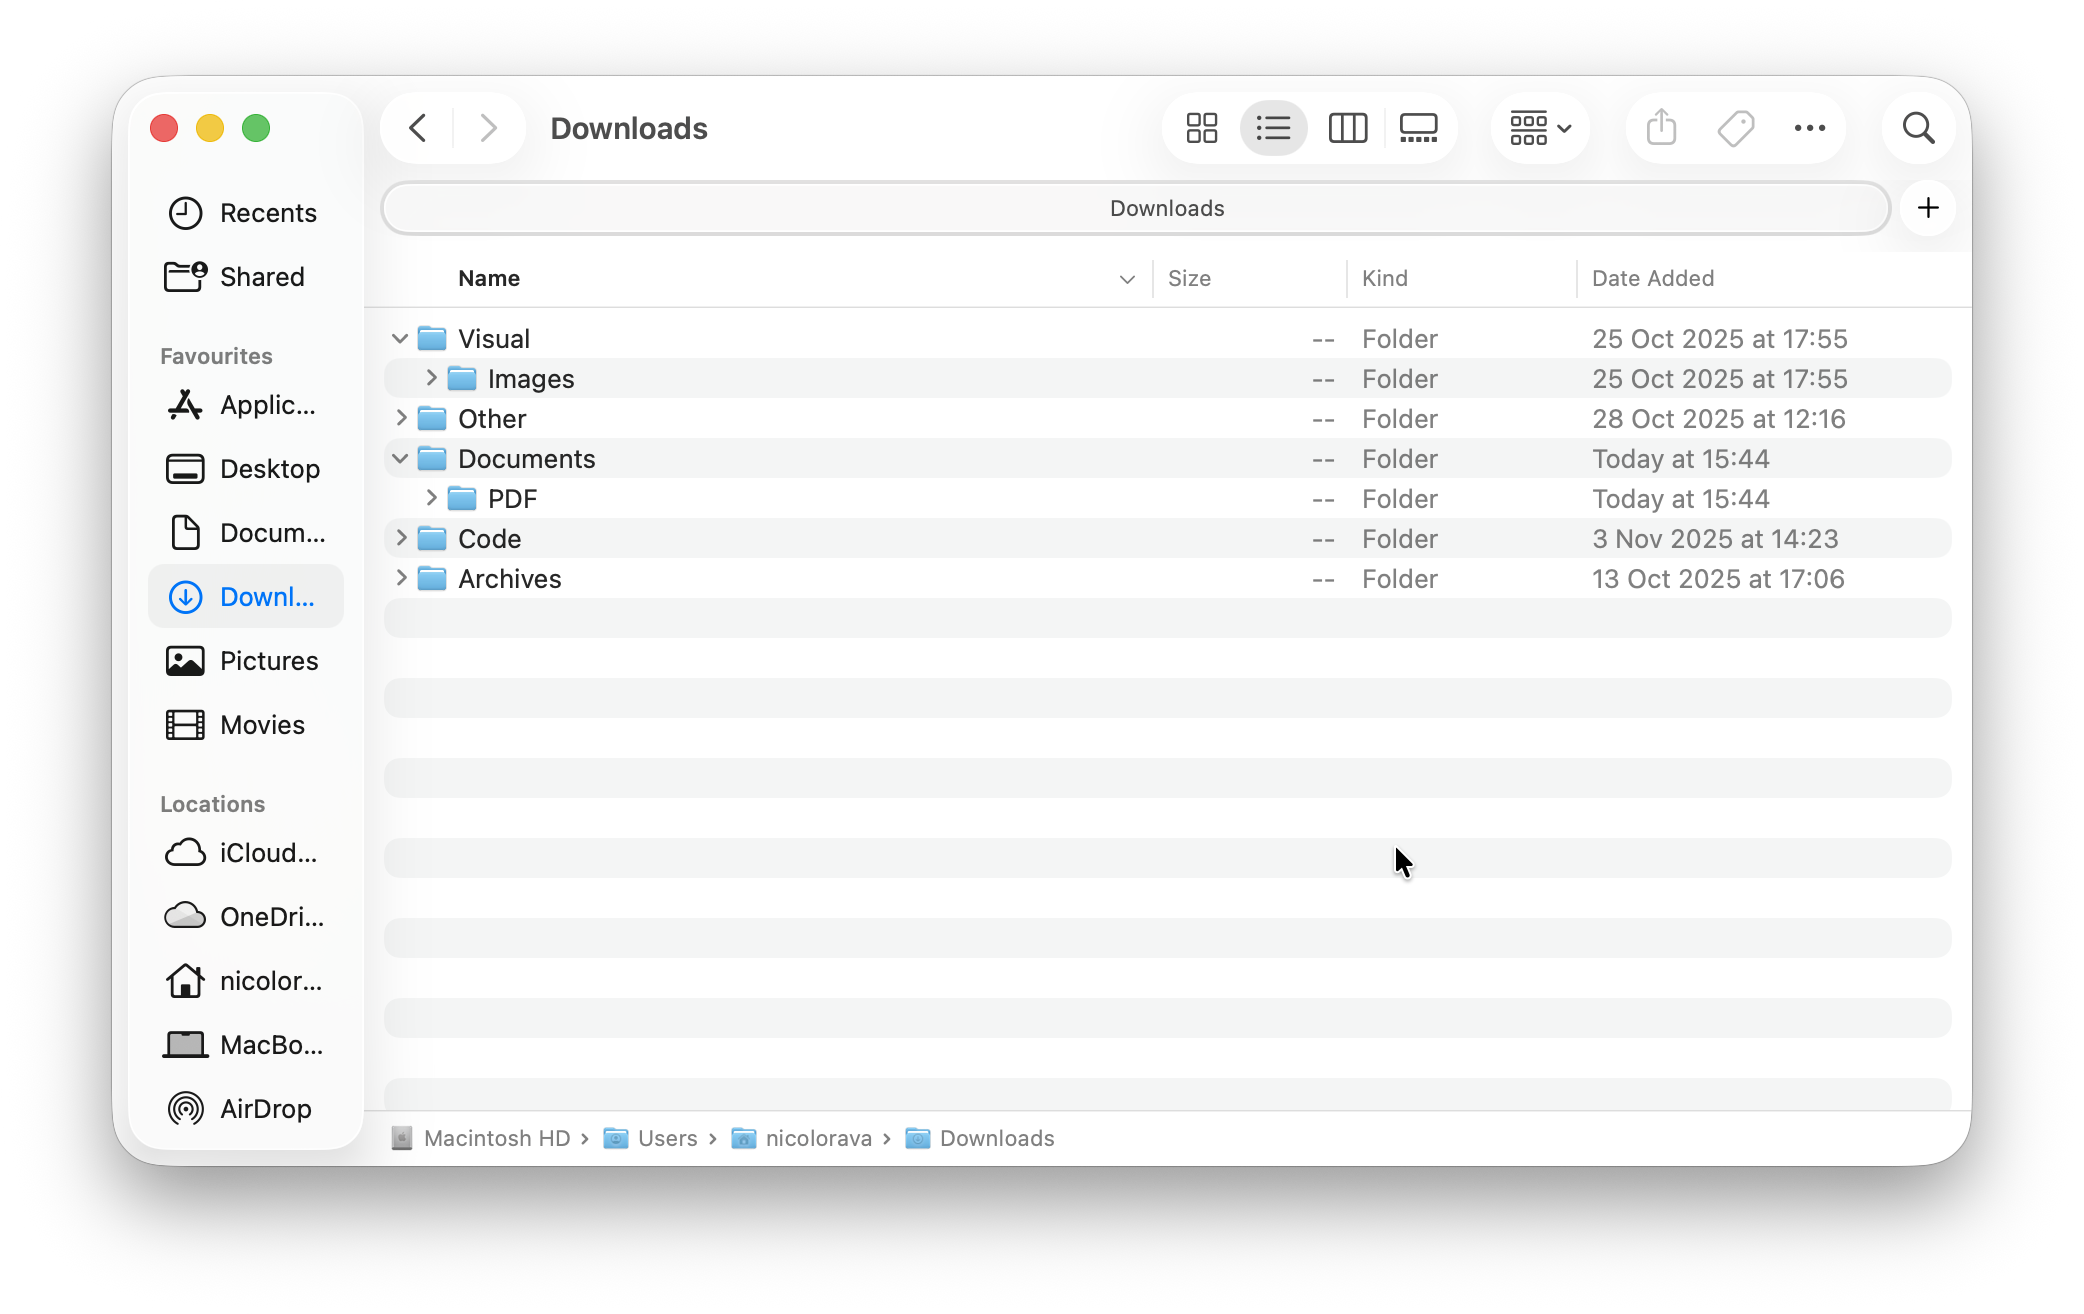
Inside your Downloads folder (or a separate location), create folders based on file types or purposes:
- Documents (contracts, forms, receipts)
- Images (screenshots, photos, graphics)
- Software (installers, DMG files, updates)
- Media (videos, audio files)
- Archives (ZIP files, compressed folders)
- Work Projects
- Personal
Here's mine:
2. Sort existing files
Block out 30 minutes and drag files into their appropriate folders. Delete anything older than 90 days that you haven't used. Be ruthless: if you haven't needed it in three months, you probably won't.
3. Maintain weekly
Set a recurring calendar reminder every Friday at 4 PM to sort your Downloads folder. This 5-minute habit prevents the chaos from building up again.
Pros:
- Free and built into macOS
- Complete control over organization
- Simple to understand
- Works offline
Cons:
- Requires consistent discipline
- Time-consuming if you download frequently
- Easy to fall behind and let clutter accumulate
Best for: People who download fewer than 10 files per day and enjoy manual control.
Method 2: Use Finder Tags for Quick Categorization
Finder tags let you label files without moving them into folders. You can assign multiple tags to a single file and search by tag later.
How to set it up:
1. Create your tag system
Open Finder preferences (Cmd + ,) and go to Tags. Create custom tags like:
- Urgent
- To Review
- Client Work
- Personal
- Archive
Here's mine:
2. Tag files as you download
Right-click any file, select Tags, and choose the appropriate label. Or drag files onto tags in the Finder sidebar.
3. Search by tag
Click any tag in the Finder sidebar to see all files with that label, regardless of where they're stored. You can also search "tag:urgent" in Spotlight.
Pro tip: Color-code your tags. Assign colors to tags in Finder preferences. Visual categorization helps you spot important files faster.
Pros:
- Files stay in Downloads but remain organized
- Quick to apply (right-click and tag)
- Can apply multiple tags to one file
- Search across all folders by tag
Cons:
- Downloads folder still looks cluttered
- Tags aren't visible in all apps
- Requires remembering to tag files consistently
Best for: People who want organization without moving files or who need flexible categorization.
Method 3: Smart Folders for Automatic Filtering
Smart Folders are saved searches that automatically show files matching specific criteria. They don't move files, they create dynamic views.
How to set it up:
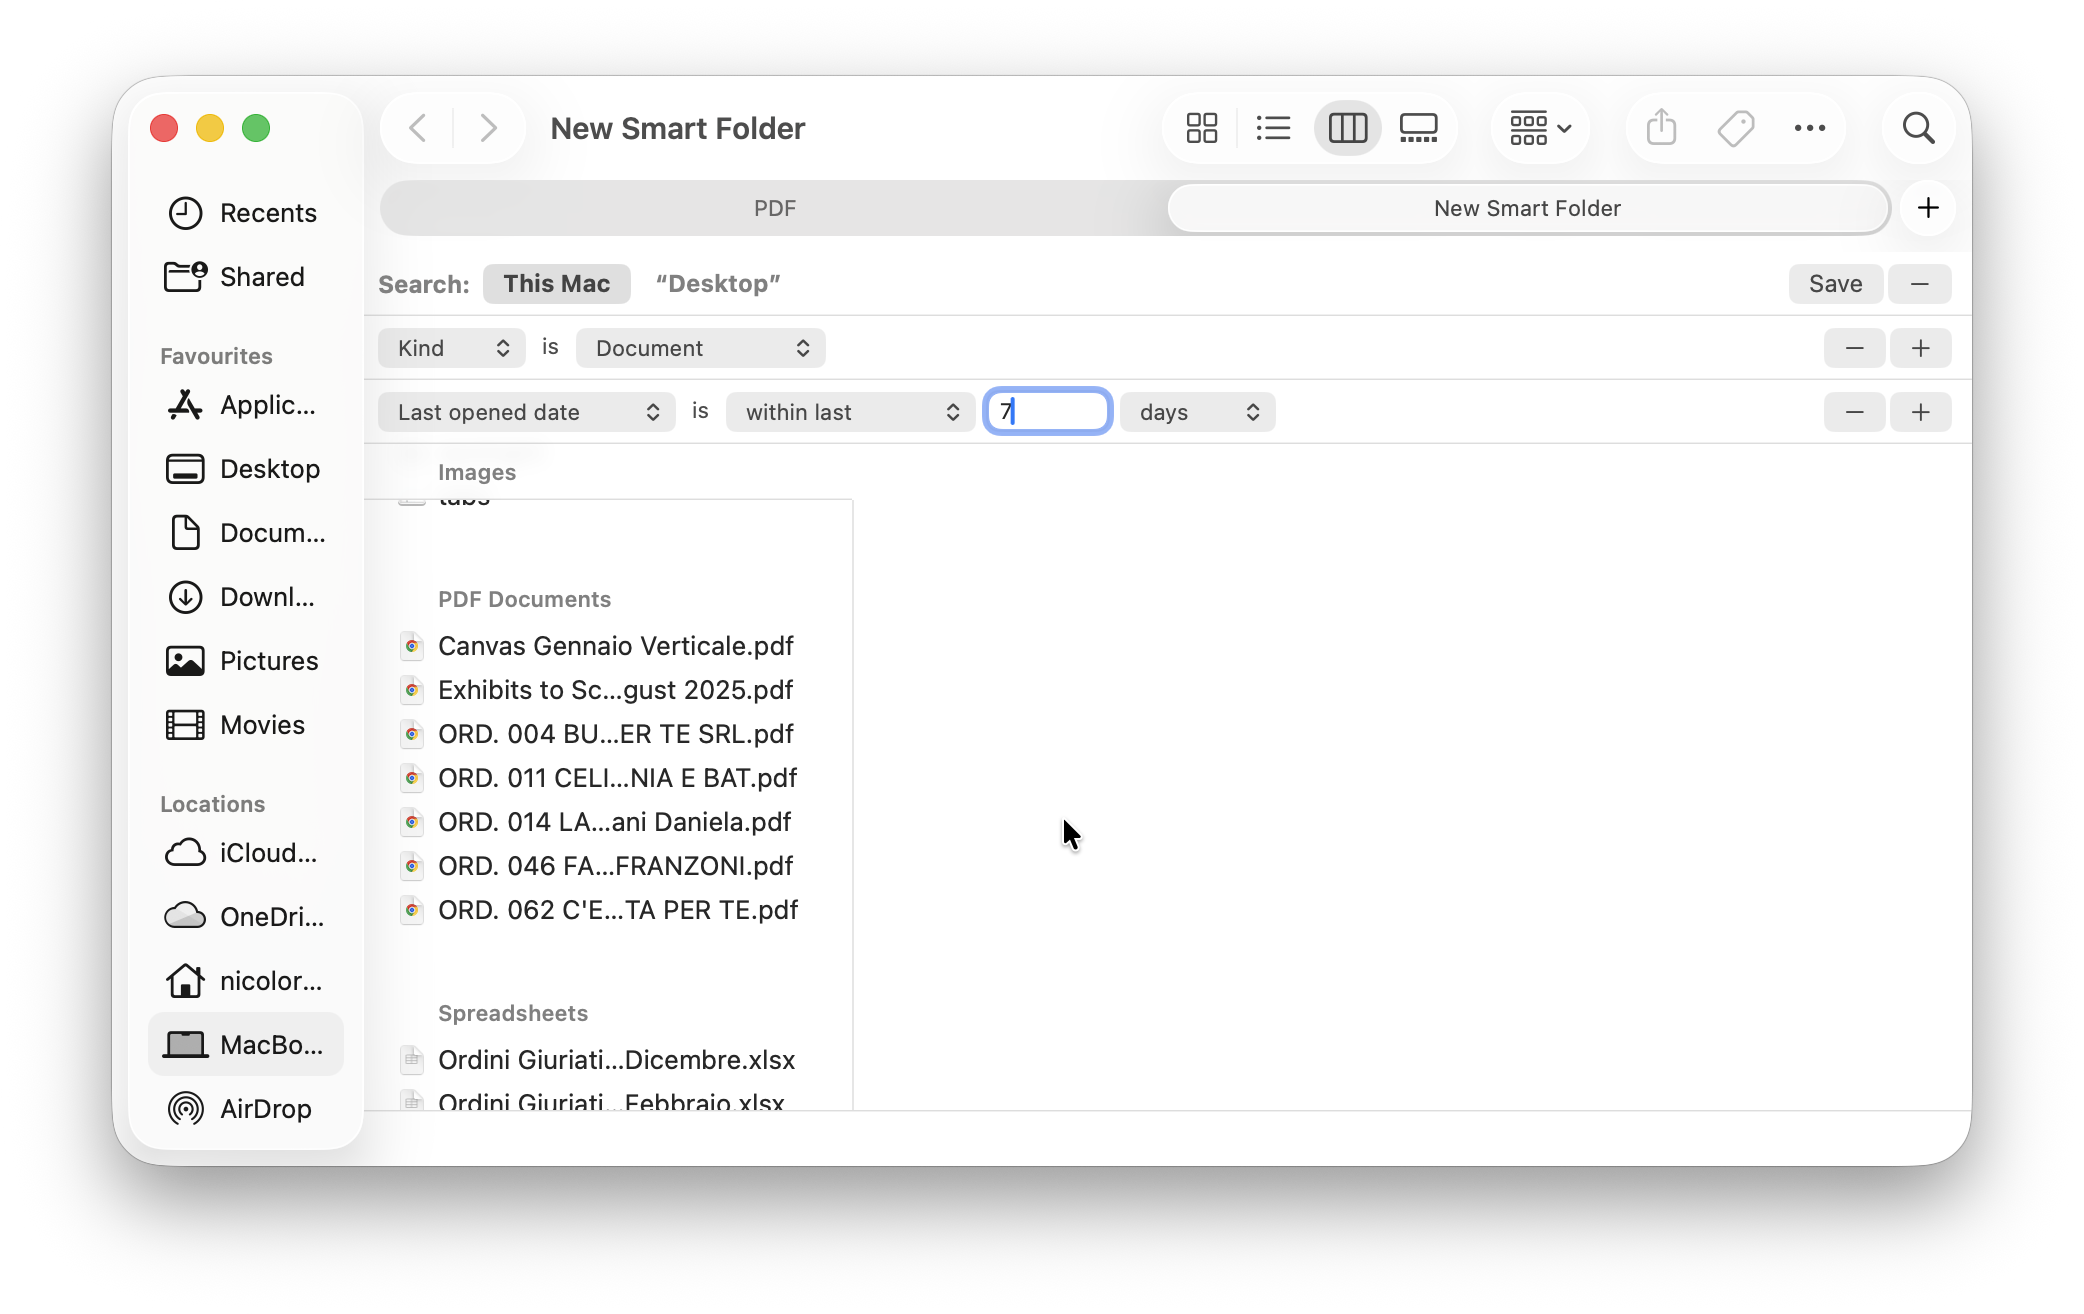
1. Create a Smart Folder
In Finder, press Cmd + Option + N or go to File > New Smart Folder.
2. Set your search criteria
Add criteria to filter files. Examples:
- Recent Downloads: Kind is Document, Last opened date is within last 7 days
- Large Files: File size is greater than 50 MB
- Images Only: Kind is Image
- This Month: Date created is within last 30 days
3. Save to sidebar
Click "Save" in the top-right, give it a name, and check "Add to Sidebar" for quick access.
4. Create multiple Smart Folders
Build a collection of Smart Folders for different needs:
- Today's Downloads
- PDFs to Review
- Screenshots (Kind is Image, Name contains "Screen Shot")
- Old Files to Delete (Date modified is not in the last 90 days)
Pros:
- Automatically updates as files change
- Files stay in original location
- Create unlimited filtered views
- No manual sorting required
Cons:
- Doesn't actually organize files, just filters views
- Can be confusing for beginners
- Downloads folder itself remains messy
Best for: Power users who want dynamic file views without manual organization.
Method 4: Basic Automator Workflows
macOS includes Automator, a built-in tool for creating automated workflows. You can set up simple rules to organize files automatically.
How to set it up:
1. Open Automator
Launch Automator (search in Spotlight) and choose "Folder Action" as your workflow type.
2. Select Downloads folder
At the top of the workflow, choose your Downloads folder from the dropdown. This workflow will run whenever files are added to Downloads.
3. Add actions
Search for and add these actions:
- "Filter Finder Items" (example: Kind is PDF)
- "Move Finder Items" (choose destination folder)
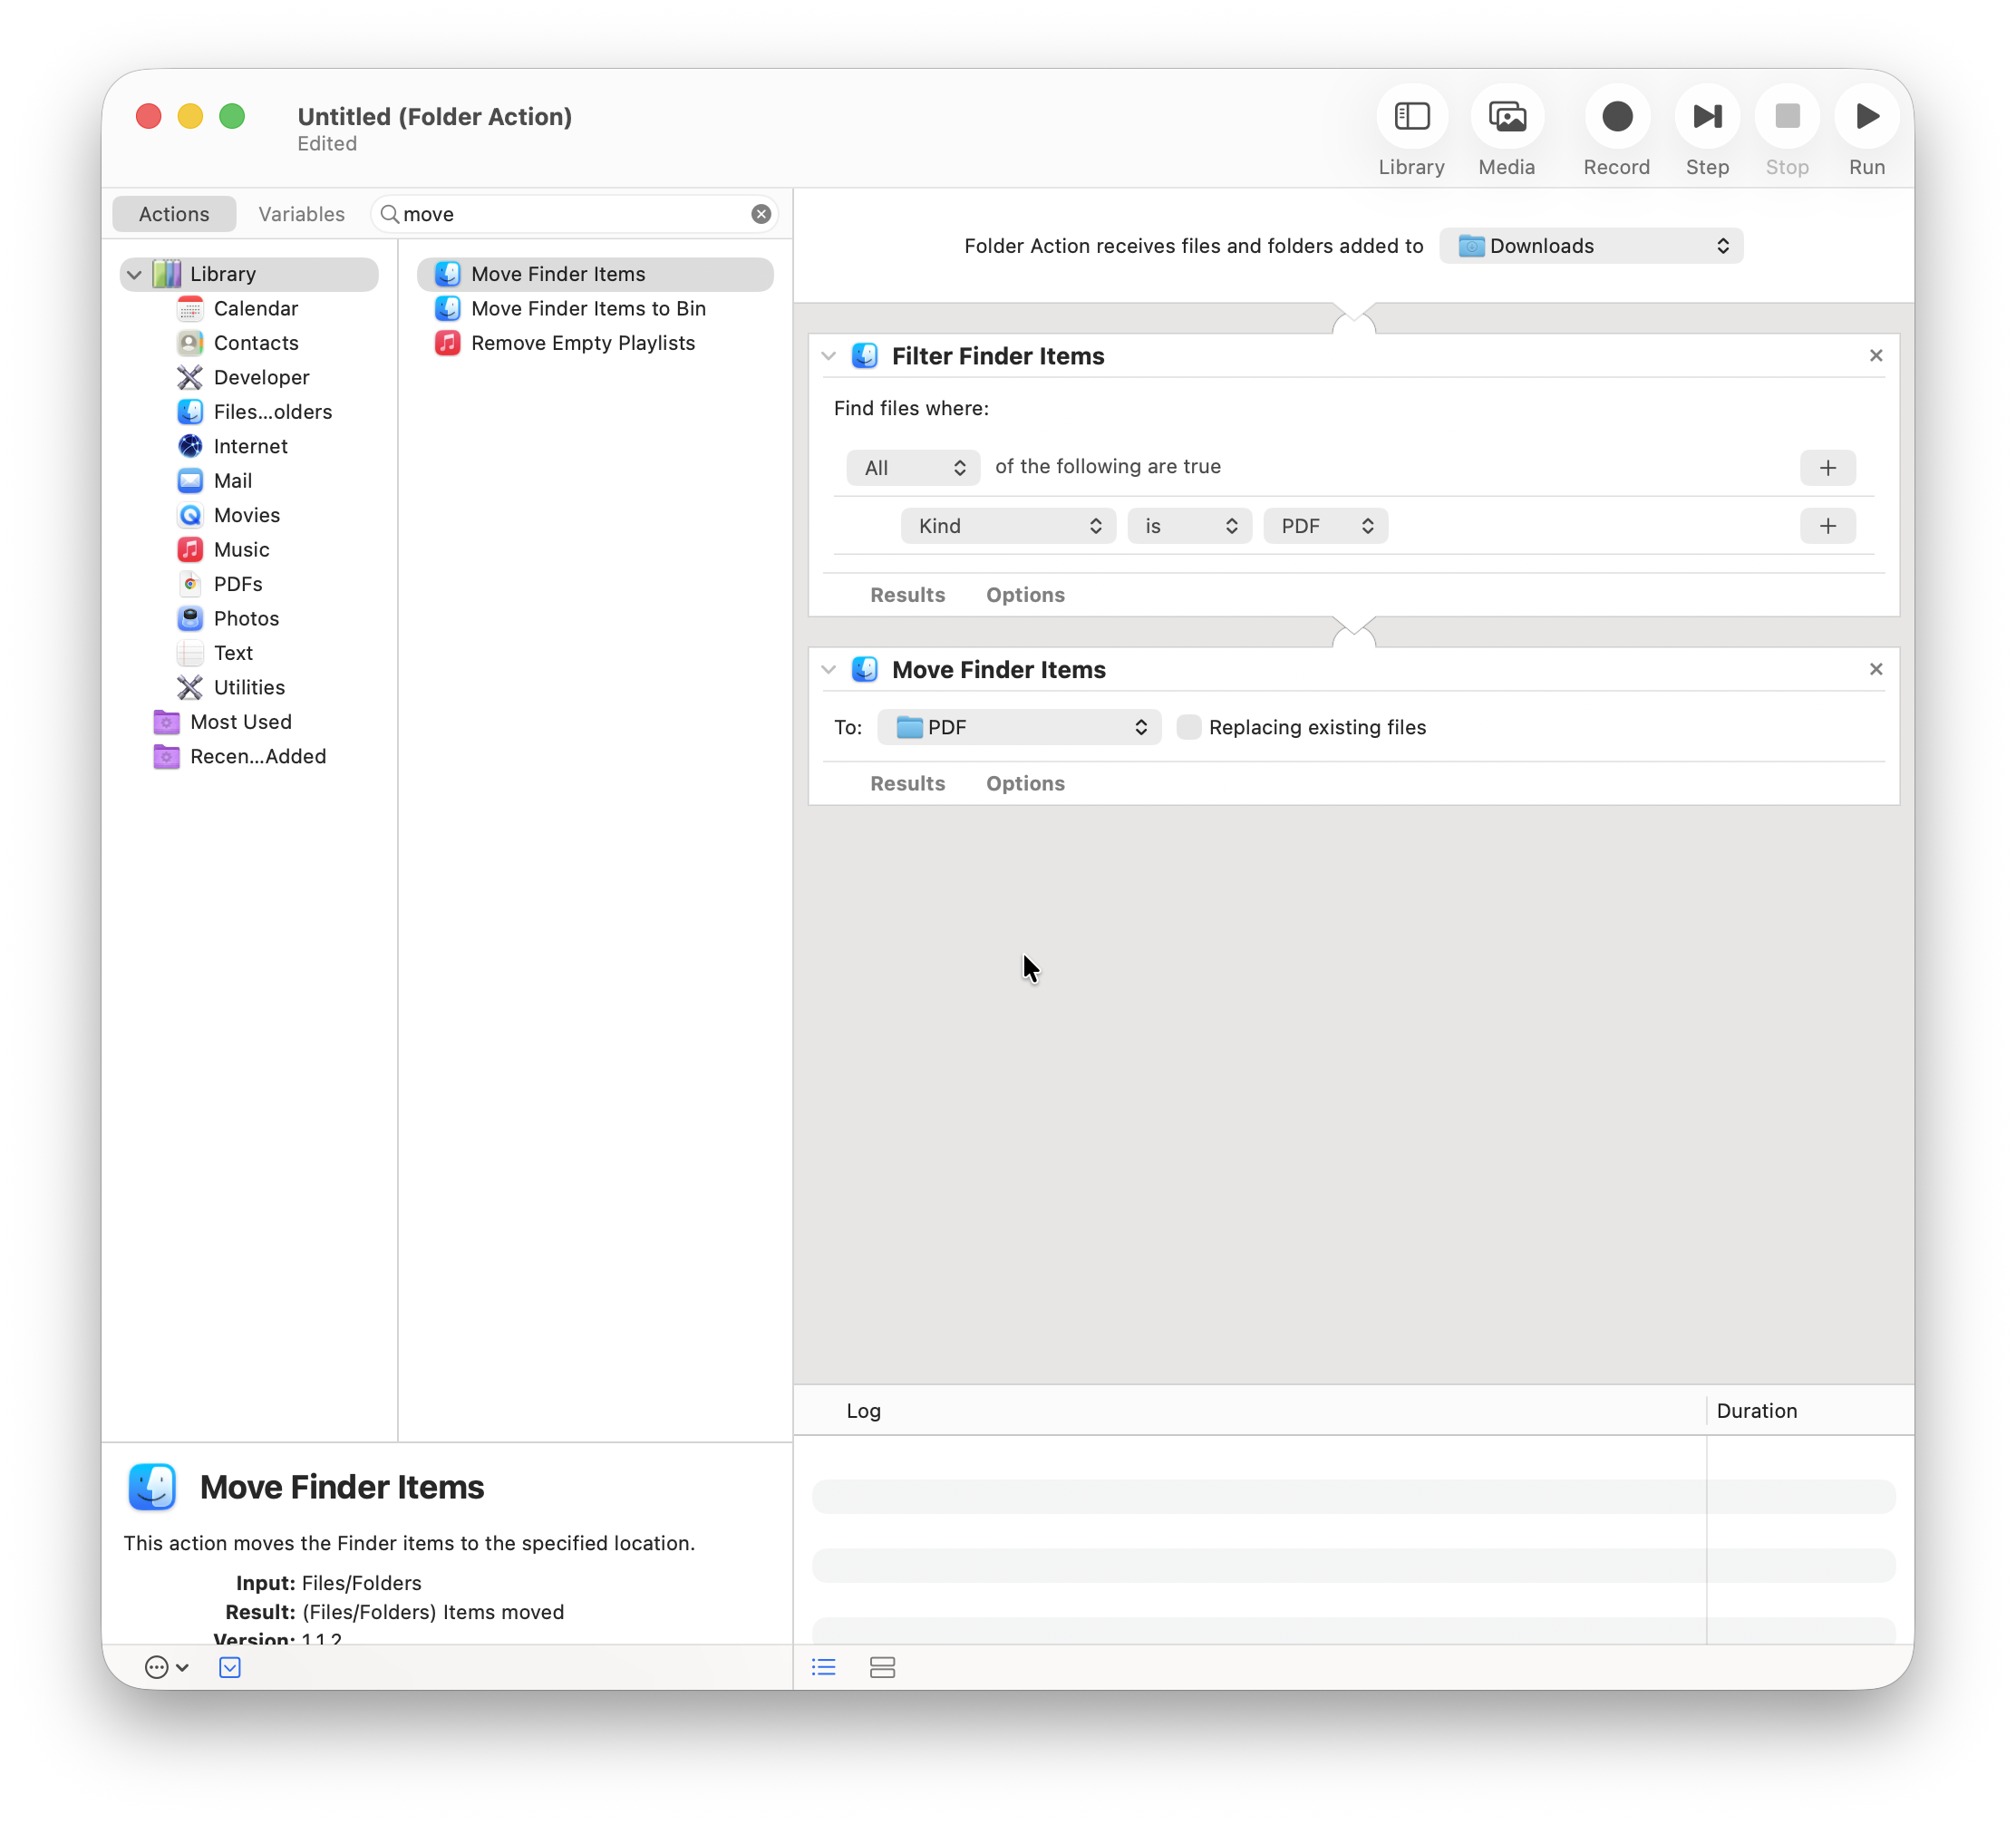
4. Save and enable
Save your workflow. It will now run automatically whenever new files appear in Downloads.
Example workflow: Move all PDFs to Documents/PDFs folder automatically.
Important limitation: Automator has a learning curve. The interface isn't intuitive, and creating complex rules requires understanding how actions chain together. One mistake can move files to the wrong place.
Pros:
- Built into macOS (free)
- Runs automatically
- Can create multiple workflows
- No third-party software needed
Cons:
- Steep learning curve for beginners
- Not intuitive to set up
- Limited visual feedback
- Hard to troubleshoot when things break
Best for: Technical users comfortable with automation concepts who want free automation.
Method 5: Use Dedicated Automation Apps
Several Mac apps are designed specifically for automatic file organization with visual, user-friendly interfaces. These apps monitor your Downloads folder and move files based on rules you set up.
How automation apps work:
You create rules visually (not with code):
If a PDF is downloaded → Then move it to Documents/PDFs
The app monitors your Downloads folder and applies rules automatically to new files. No manual sorting, no remembering to clean up.
Popular options include:
Modern automation apps with visual interfaces that prioritize simplicity—you set up your organization system in seconds without documentation or technical knowledge. Neatify is designed with this philosophy: an intuitive visual interface anyone can use immediately. You create rules visually (not with code), and can set up multiple organization configurations and switch between them instantly from the menu bar. Perfect for students managing multiple classes or freelancers juggling client projects.
Traditional automation apps offer extensive customization for power users, but typically require learning complex rule-building systems and have less flexible context switching.
Key advantages of automation apps:
- Set it once, forget about it
- Visual rule creation (no coding)
- Works 24/7 in the background
- Handles files as they download
- Switch between different organization setups instantly
Pros:
- Fully automated (zero manual work)
- Modern, intuitive interfaces
- Can create complex rules visually
- Some allow switching between different organization configurations
Cons:
- Costs money (varies by app)
- Requires installing third-party software
- Must trust the app with file access
Best for: Anyone who downloads files frequently and wants true automation without manual effort.
Which Method Should You Choose?
The right approach depends on your workflow and how many files you handle:
Choose Manual Organization if:
- You download fewer than 10 files per day
- You enjoy having complete control
- You're organized by nature and won't forget weekly cleanups
Choose Finder Tags if:
- You want flexible categorization without moving files
- You work across multiple projects simultaneously
- You need to find files by multiple criteria
Choose Smart Folders if:
- You're comfortable with advanced Finder features
- You want dynamic views without moving files
- You already have an organization system and just need better visibility
Choose Automator if:
- You're technical and comfortable with automation concepts
- You want free automation and don't mind the learning curve
- You only need simple, straightforward rules
Choose Automation Apps if:
- You download files constantly (students, freelancers, professionals)
- You want true "set and forget" automation
- You value simplicity and visual interfaces over complexity
- You juggle multiple projects and need to switch contexts frequently
You can also combine methods. Many people use automation apps for daily file flow, Smart Folders for specific searches, and tags for special categorization. The key is finding what actually works for your workflow, not what sounds good in theory.
Conclusion
Your Downloads folder doesn't have to be a digital junkyard. Whether you prefer manual control, smart filtering, or full automation, there's a method that fits your workflow.
Start simple: Try manual organization for a week. If you find yourself forgetting or falling behind, move up to tags or Smart Folders. If you're downloading files constantly and want zero manual effort, automation apps are worth the investment.
The best organization system is the one you'll actually use consistently. Pick your method, set it up today, and reclaim those lost hours spent searching for files.